Follow Me On Social Media!
Homemade Pita Bread Recipe: Easy, Fluffy, and Totally Irresistible
Introduction to Homemade Pita Bread Recipe
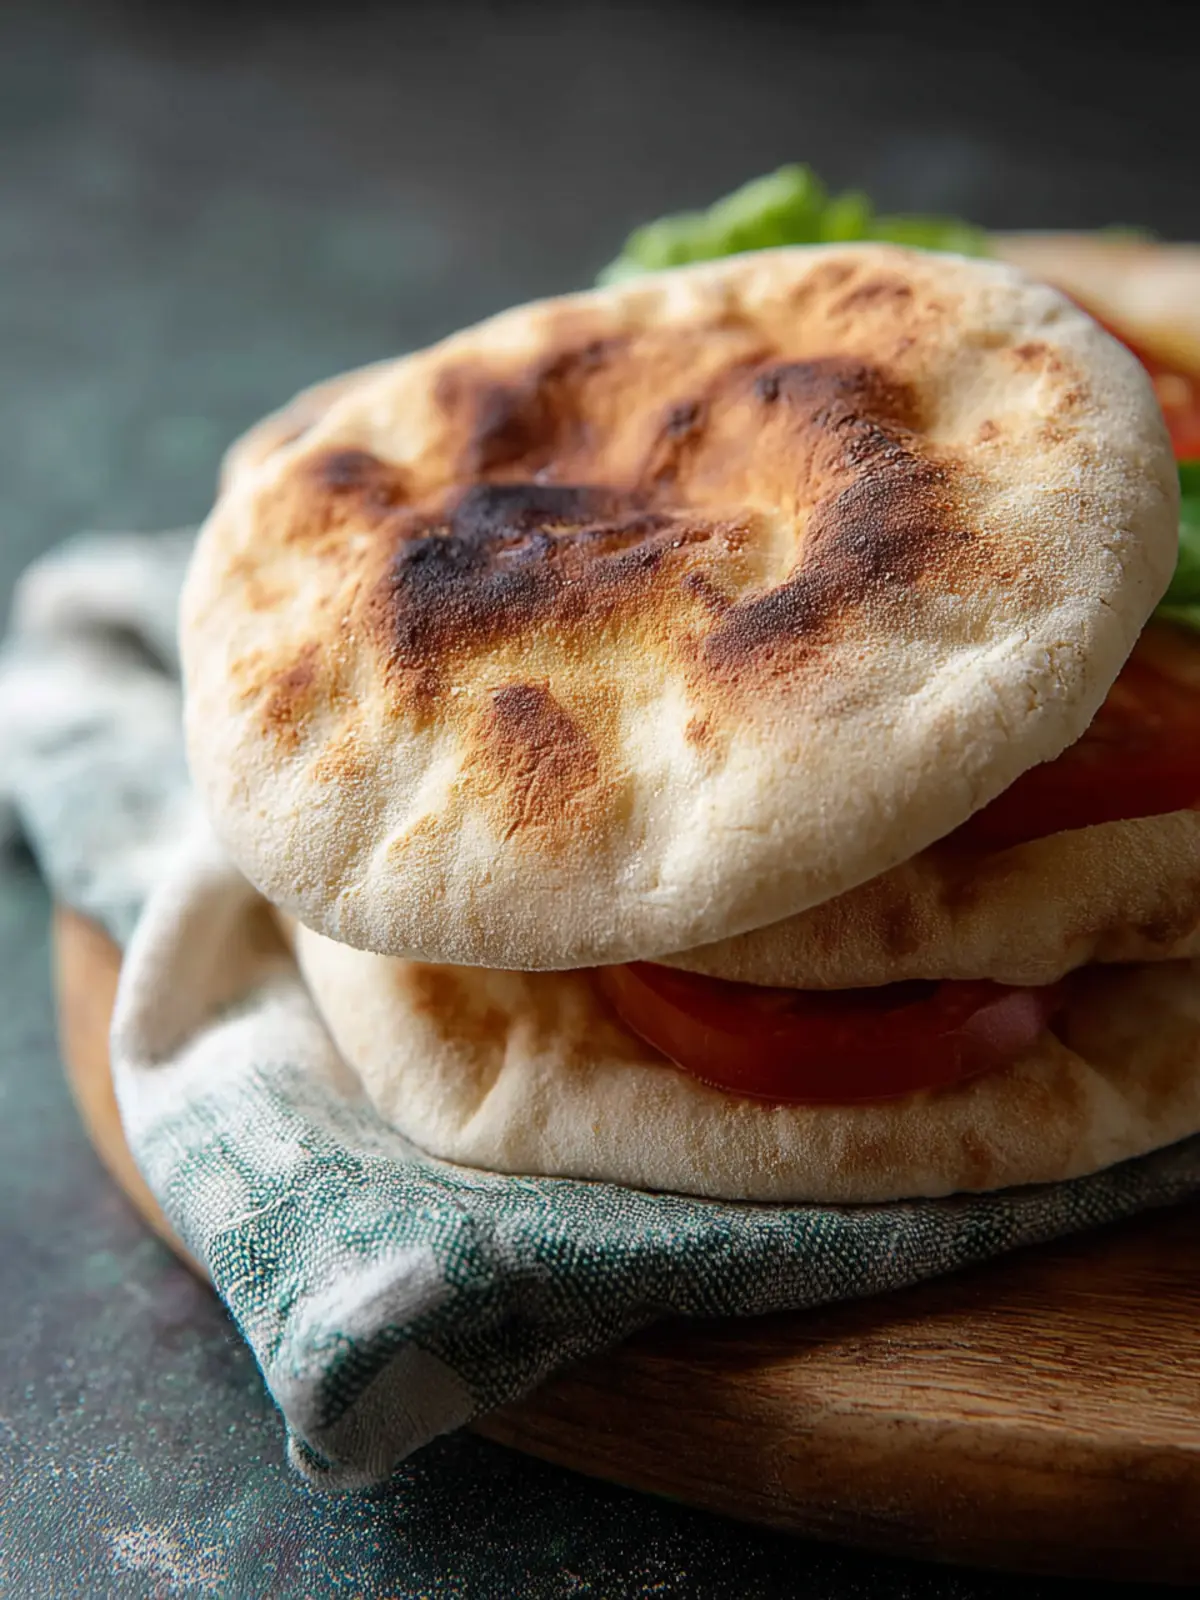
There’s something remarkably satisfying about crafting your own homemade pita bread, transforming a simple blend of ingredients into fluffy pockets of deliciousness. Imagine stepping into your kitchen and, with just a few humble staples, creating a warm, aromatic bread that elevates any meal. Pita bread, with its shallow pocket, is spectacular for stuffing or scooping, and making it from scratch brings an added layer of joy to your dining experience.
So why should you roll up your sleeves and dive into this homemade pita bread recipe? Well, for starters, the taste alone is worth it. Freshly baked pita is soft, warm, and flavorful, far surpassing anything you’ll find pre-packaged in stores. The delightful aroma wafting through your kitchen will make your home feel cozy and inviting. Plus, you can get creative with the flavors, experimenting with different herbs or toppings to create a pita that matches your personal taste.
Homemade pita bread not only offers you a sense of accomplishment but is also a fantastic way to impress family and friends. Picture serving a fresh batch alongside a vibrant hummus dip or stuffing them with grilled veggies and tzatziki. It’s a beautiful way to showcase your culinary prowess while keeping things simple and wholesome. Moreover, using quality ingredients allows you to control what goes into your bread, making it as healthy or indulgent as you desire.
As you tackle this homemade pita bread recipe, you may find that the process itself is a bit zen. Kneading the dough can be quite therapeutic, perfect for winding down after a long day. And when you pull those warm pitas out of the oven, the satisfaction you feel will make it all worthwhile. If you’re ready to embark on this culinary adventure, let me guide you through the ingredients and instructions that will bring your homemade pita bread to life!
What Makes Homemade Pita Bread So Special?
Creating your own pita bread means crafting something that feels personal and special. It’s not just about the flavor; it’s about the experience. Making bread at home connects you to the ingredients in a way that store-bought options never can. The light, fluffy texture, the warm scent—it’s all part of a delightful journey that turns even a simple meal into a memorable occasion.
Key Ingredients for Homemade Pita Bread
Creating a delightful homemade pita bread recipe starts with selecting the right ingredients that will transform flour and water into fluffy pockets of goodness. Each component plays a pivotal role in achieving that perfect texture and flavor.
-
All-Purpose Flour: Opting for high-quality all-purpose flour lends a sturdy yet soft texture to your pita. You can use whole wheat flour for a heartier version, but remember it will change the pita’s flavor and texture.
-
Water: Warm water is essential as it activates the yeast, promoting that wonderful rise! Avoid using hot water to prevent killing the yeast—lukewarm is the way to go.
-
Yeast: Active dry yeast is crucial for this recipe; it creates the bubbles that make pita bread puff up beautifully. Be sure to check the expiry date for fresh results!
-
Olive Oil: While optional, adding a splash of olive oil to your dough lends a hint of richness and helps keep the pita soft.
-
Salt: A must-have for flavor enhancement, salt balances the sweetness of the dough and strengthens gluten, contributing to the overall structure.
With these ingredients in hand, you’re well on your way to crafting that irresistible homemade pita bread. Happy baking!
Why You’ll Love This Homemade Pita Bread
The pleasure of making your own homemade pita bread is a journey that touches all the senses—smelling the warm, yeasty dough rise, listening to the gentle pop as it bakes in the oven, and finally enjoying a perfectly soft and chewy pocket of flavor. This is not just any bread; it’s a delightful experience that transforms even the simplest meals into culinary celebrations.
Simple and Satisfying
Crafting your own pita bread is surprisingly straightforward. With just a few pantry staples—flour, water, yeast, and salt—you’ll find that you don’t need to be a baking expert to achieve delicious results. The joy of kneading the dough and watching it rise is both therapeutic and rewarding.
Versatile Companion
On its own, homemade pita bread is soft and warm, but it plays the perfect supporting role, too. Stuff it with your favorite fillings for gyros, dip it into hummus for a satisfying snack, or use it to scoop up spicy stews. The options are endless, making this recipe a fabulous addition to your cooking repertoire.
Healthier Choice
You have control over the ingredients, allowing you to make healthier choices. Discovering that fresh, warm pita made with minimal additives can be made right in your kitchen will change how you enjoy bread. It’s not just food; it’s a wholesome experience that invites connection, whether shared with family or friends around the table.
Try this homemade pita bread recipe, and you’ll quickly find it becomes a staple in your kitchen lineup.

Variations for Homemade Pita Bread
Exploring different variations can make your homemade pita bread recipe a delightful experience, turning simple bread into a culinary adventure. Each twist adds uniqueness, offering something new every time you bake.
Whole Wheat Pita Bread
For a healthier option, consider using whole wheat flour instead of all-purpose flour. Whole wheat pitas are denser and provide a nutty flavor that complements various fillings perfectly. These pitas also retain more nutrients, making them a fantastic choice for the health-conscious.
Herbed Pita Bread
Enhance the flavor of your pitas by incorporating herbs. Adding dried oregano, thyme, or rosemary to your dough not only colors the dough beautifully but also infuses each bite with aromatic goodness. Imagine stuffing these herbed pitas with grilled vegetables or your favorite dips!
Flavored Pita Bread
Feeling adventurous? Mix in spices like cumin or coriander when kneading your dough. This variation adds an incredible depth of flavor that pairs wonderfully with Middle Eastern dishes, creating an excellent base for toppings like falafel or shawarma.
Stuffed Pita Bread
Why not take your homemade pita bread to the next level by stuffing them before baking? Fill them with cheese, seasoned meat, or vegetables for a delicious pocket treat. Just ensure the filling is not too wet to keep the bread from getting soggy.
Each of these variations offers a unique take on your homemade pita bread recipe, making it an exciting staple for your culinary repertoire!
Cooking Tips and Notes for Homemade Pita Bread
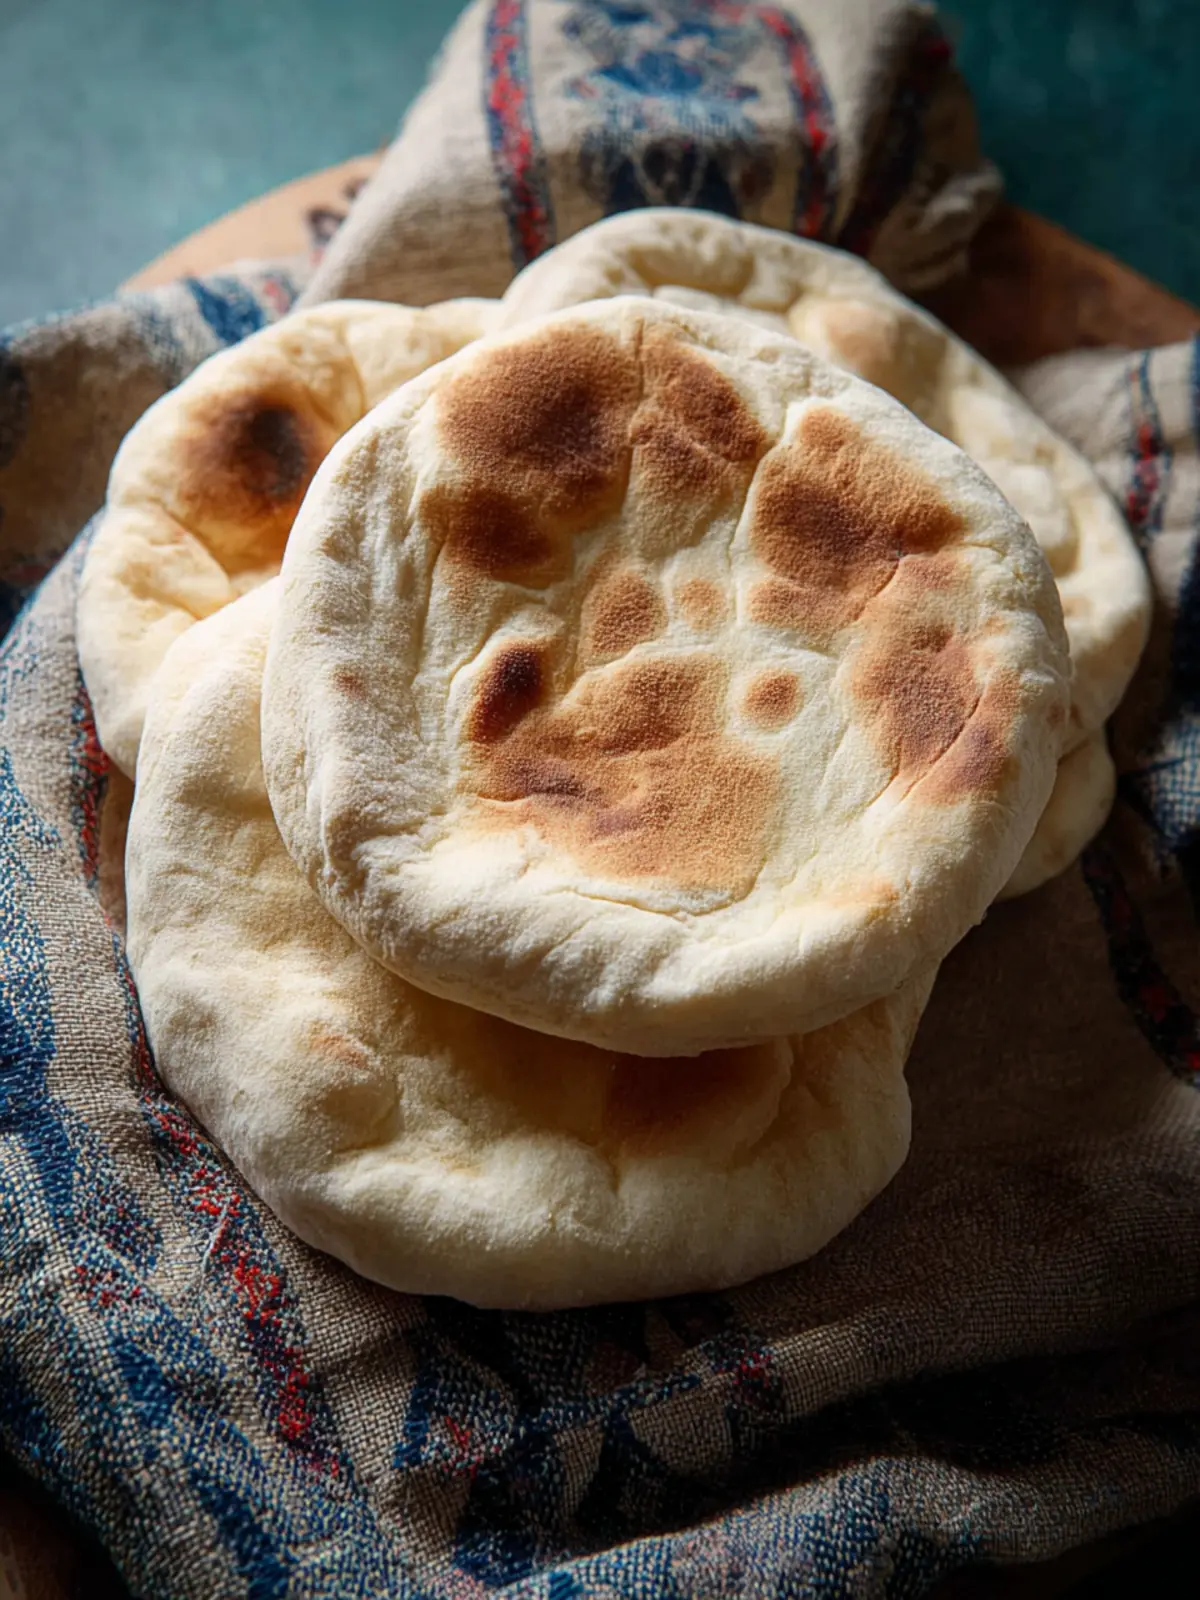
Crafting your own homemade pita bread transcends mere cooking; it’s a journey filled with delightful surprises. There’s something special about watching those dough circles puff up in the oven, transforming into fluffy pockets ready to cradle your favorite fillings.
The Right Flour Choice
For an exceptional homemade pita bread recipe, starting with the right flour is crucial. I prefer using all-purpose flour for its perfect balance of elasticity and tenderness. If you want a heartier texture, feel free to mix in whole wheat flour—just remember to adjust the water as whole wheat absorbs more moisture.
Kneading Technique
Take your time to knead. A solid 7-10 minutes of kneading is essential for developing gluten, which helps those pitas puff beautifully. If you’re short on time, consider using a stand mixer with a dough hook.
Resting the Dough
Don’t skip the resting phase! Allow your dough to rest for at least 30 minutes to relax the gluten. This step is key for achieving that desired soft and chewy texture.
Oven Temperature Matters
Make sure your oven is hot enough—around 475°F (245°C) is ideal. A hot surface will help the pitas to puff up quickly, ensuring they stay soft inside.
Enjoy the process, and savor the aroma of freshly baked homemade pita bread!
Serving Suggestions for Homemade Pita Bread
There’s something undeniably special about a homemade pita bread recipe. Imagine pulling warm, fluffy pitas straight from the oven, perfect for a cozy evening or a lively gathering. These versatile pockets can transform any meal into something extraordinary. Here are a few serving suggestions to make the most of your freshly baked pitas.
Build a Classic Sandwich
Layer your favorite proteins and greens between two halves of the pita. Whether it’s grilled chicken, falafel, or roasted veggies, you can’t go wrong! Add a dollop of tzatziki or hummus for that extra zing.
Dips and Chips Delight
Cut your homemade pita into wedges and toast them lightly. Serve them with a variety of dips like baba ganoush, hummus, or a spicy salsa for a memorable snack or appetizer.
Creative Breakfast Option
Stuff warm pitas with scrambled eggs, avocado slices, and a sprinkle of feta cheese for a delicious breakfast that’s quick to prepare. It’s a wonderful way to start your day full of energy.
Enjoy with Soups and Salads
Pair your pita bread with hearty soups or fresh salads. Tear it apart and enjoy it alongside a warm bowl of lentil soup, or use it to scoop up a vibrant tabbouleh salad.
With these simple ideas, your homemade pita bread will quickly become a beloved staple in your kitchen, ready to elevate any meal!
Time Breakdown for Homemade Pita Bread
When crafting your own homemade pita bread, understanding the time commitment can make the process feel much more approachable. Let’s dive into the breakdown so you can plan accordingly.
Preparation time
The initial step in your pita-making journey takes about 15-20 minutes. This includes measuring your ingredients, mixing the dough, and kneading it until it’s smooth and elastic.
Rising time
Patience is key here! Allow your dough to rise for approximately 1 hour, or until it’s doubled in size. This step enhances flavor and creates that delightful fluffiness we love in pita bread.
Baking time
Once your dough has risen, it’s time to bake. Each pita will need about 5-7 minutes in the oven, just long enough to puff up beautifully and develop that golden-brown color.
Total time
In total, you can expect the complete process to take around 1 hour and 30 minutes. This includes prep, rising, and baking time, giving you a delicious batch of homemade pita bread to enjoy!
Nutritional Facts for Homemade Pita Bread
Creating your own homemade pita bread is not only fulfilling but also allows you to understand its nutritional profile. Each homemade pita you make is not just a vessel for dips or fillings, but also a part of a balanced diet when made thoughtfully.
Calories
A typical serving of homemade pita bread contains around 170 calories. This makes it a moderate option for those looking to enjoy bread without excessive calorie intake.
Protein
Each pita boasts about 5 grams of protein, making it a decent source of this essential nutrient. It’s perfect for fueling your day, especially when paired with protein-rich fillings.
Carbohydrates
With approximately 35 grams of carbohydrates, these pitas provide the energy you need to keep going. This balanced amount is ideal for an active lifestyle.
Fat
Homemade pitas are low in fat, containing about 1 gram per serving. This makes them a heart-healthy choice for your meals.
Enjoy experimenting with different flavors and fillings while keeping an eye on the nutritional benefits of your delightful homemade pita bread recipe!
FAQs about Homemade Pita Bread
Why did my pita not puff up?
If your homemade pita bread didn’t puff up, it could be due to a few reasons. Firstly, make sure your oven is preheated to a high temperature—ideally around 475°F (245°C). Also, the dough needs to be rolled out evenly; any thick spots can prevent it from puffing. Lastly, the yeast must be active; if it’s expired or hasn’t been properly activated, you might not get that lovely rise.
Can I freeze homemade pita bread?
Absolutely! Freezing homemade pita bread is a great way to save any extras. Just ensure they are completely cooled before you stack them with parchment paper between each pita and then place them in a sealed freezer bag. They can last for up to three months in the freezer. To reheat, just thaw and place them directly in a hot oven or pan for a few minutes.
What can I use instead of olive oil?
If you’re looking for alternatives to olive oil in your homemade pita bread recipe, consider using vegetable oil, melted coconut oil, or even butter. Each option brings a unique flavor, so feel free to experiment based on your taste preferences!
How do I store leftover pita bread?
To keep your homemade pita bread fresh, store any leftovers in an airtight container at room temperature. They’ll stay soft for a few days. For longer storage, consider refrigerating them; however, this may dry them out more quickly. A quick reheat in a microwave with a damp paper towel can help revive their softness.
Can I use this recipe for other types of bread?
While this homemade pita bread recipe is unique to pita, the basic principles can be adapted for other flatbreads. Just adjust the ingredients or cooking techniques based on the type of bread you want to create!
Conclusion on Homemade Pita Bread
Creating your own homemade pita bread is not just about enjoying fresh bread; it’s about connecting with the joy of baking. With this simple recipe, you can produce puffy, warm pitas that elevate any meal, from dips to sandwiches. The satisfaction of watching them puff in the oven is truly rewarding, making it well worth the effort. Plus, by experimenting with different fillings and toppings, you can tailor each pita to your taste. So roll up your sleeves, enjoy the process, and savor the deliciousness that only homemade pita bread can bring to your table!
Print
Pita Bread
- Total Time: 1 hour 25 minutes
- Yield: 8 pitas 1x
- Diet: Vegetarian
Description
Learn how to make soft and fluffy pita bread at home with this easy recipe.
Ingredients
Scale
- 2¾ cups all purpose flour
- 2 teaspoons instant yeast
- 1 teaspoon granulated sugar
- 1 teaspoon salt
- 3 tablespoons olive oil (extra virgin)
- 1 cup warm water
Instructions
- Put flour, yeast, sugar, and salt in a stand mixer and mix.
- Add olive oil and water. Mix until the dough is formed. It can be a little sticky. Add a little flour if needed.
- Cover and rest for 1 hour so the dough is doubled in size. Do not punch the dough down.
- Preheat the oven and a pizza stone to 500℉.
- Divide the dough into eight pieces and cover for 15 minutes to rise.
- Take one dough ball and keep the rest covered.
- Use your fingers to shape the dough into a disk and don’t let the air out. Gently roll out the dough using a rolling pin. The disk shouldn’t be thicker than ¼ inch.
- Place the rolled disk on the hot pizza stone (or baking sheet) and close the oven door. Let it bake for two minutes, it will puff.
- Flip the bread and bake for another two minutes.
- Heat a cast iron skillet or heavy-bottomed pan over high heat for at least 3 to 4 minutes until very hot. The surface must be extremely hot before the pita goes in, both for the oven and stovetop methods.
- Roll out one dough ball to ¼ inch thickness using the same gentle rolling technique described above.
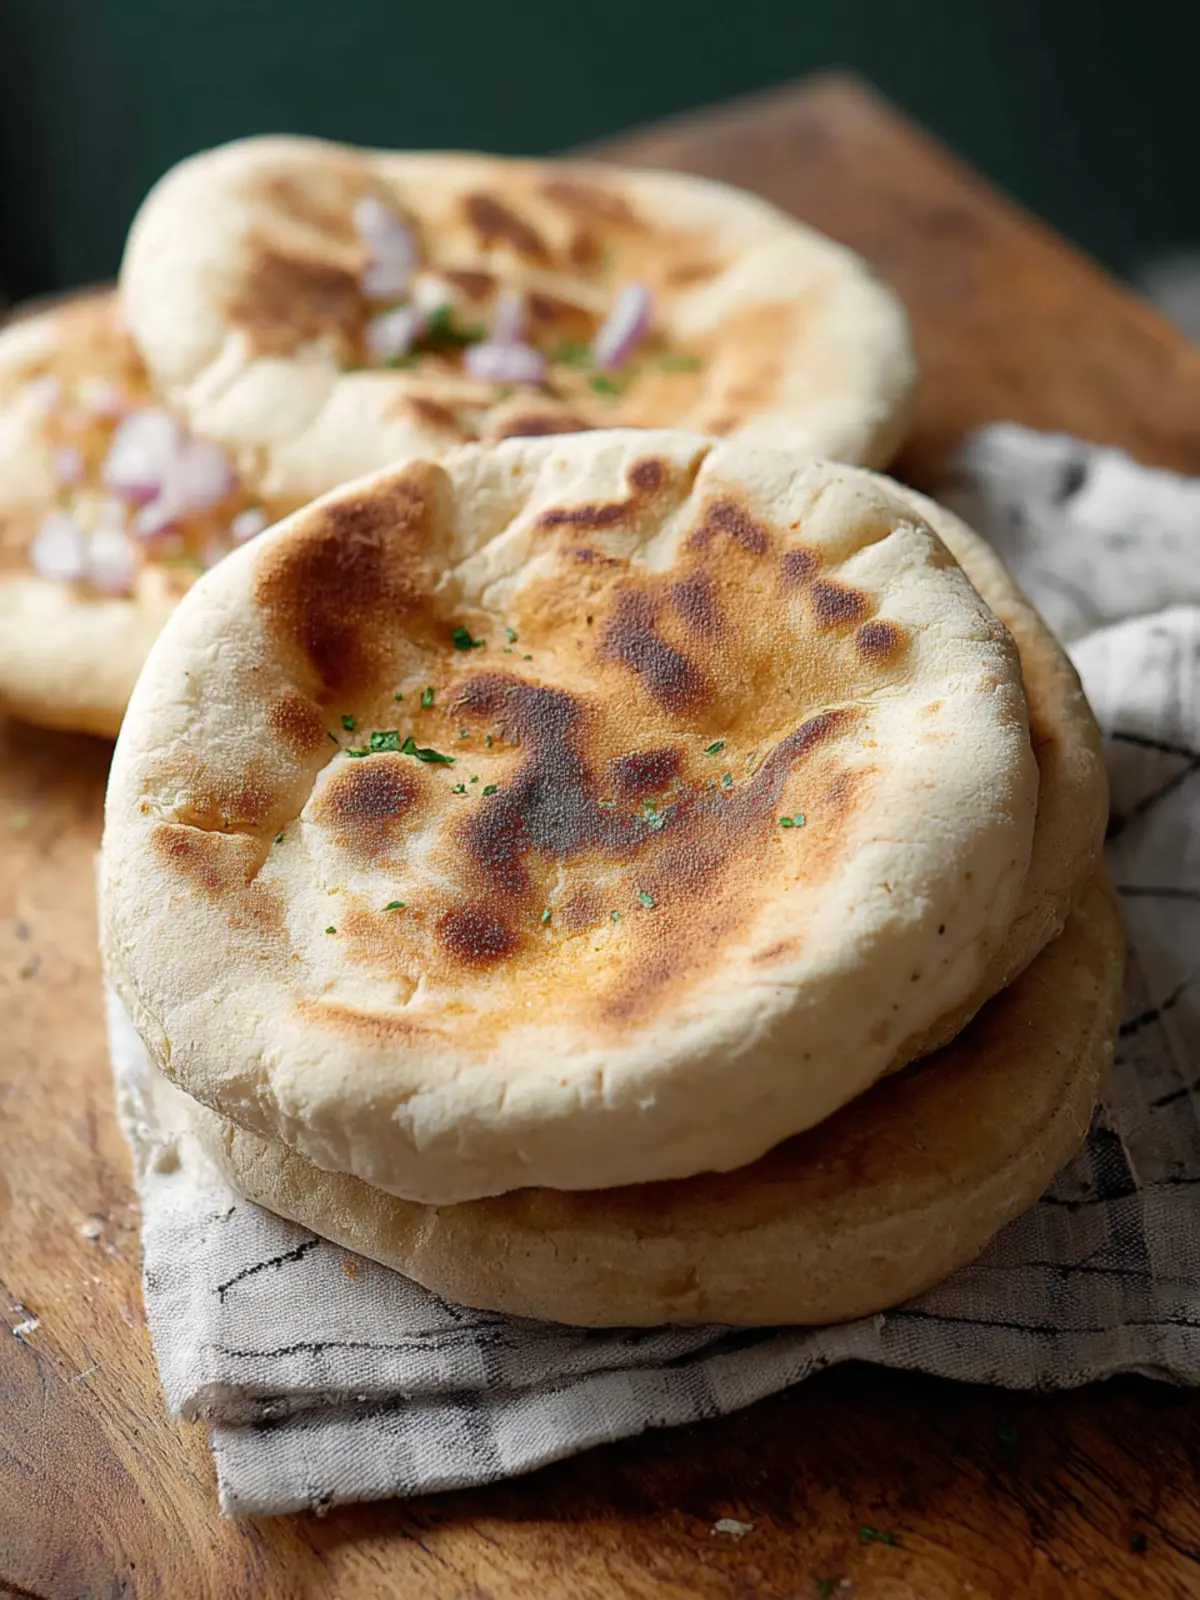
- Place the rolled dough in the dry pan with no oil. Cook for about 1 to 2 minutes until bubbles form and the underside has dark spots. Flip and cook for another minute on the other side. The pita should puff up in the center.
- Place the cooked pita bread on a plate and cover with a towel.
- Continue baking the remaining pita breads.
- Store tightly in a plastic bag.
Notes
- Make sure the cast iron skillet is very hot to ensure the pita puffs up properly.
- These can be stored in a plastic bag for freshness.
- Prep Time: 15 minutes
- Cook Time: 10 minutes
- Category: Bread
- Method: Baking
- Cuisine: Middle Eastern
Nutrition
- Serving Size: 1 pita
- Calories: 140
- Sugar: 0.5g
- Sodium: 200mg
- Fat: 3.5g
- Saturated Fat: 0.5g
- Unsaturated Fat: 2g
- Trans Fat: 0g
- Carbohydrates: 28g
- Fiber: 1g
- Protein: 4g
- Cholesterol: 0mg