Follow Me On Social Media!
Lavash Bread Made Easy: Indulge in Homemade Goodness
Introduction to Lavash Bread
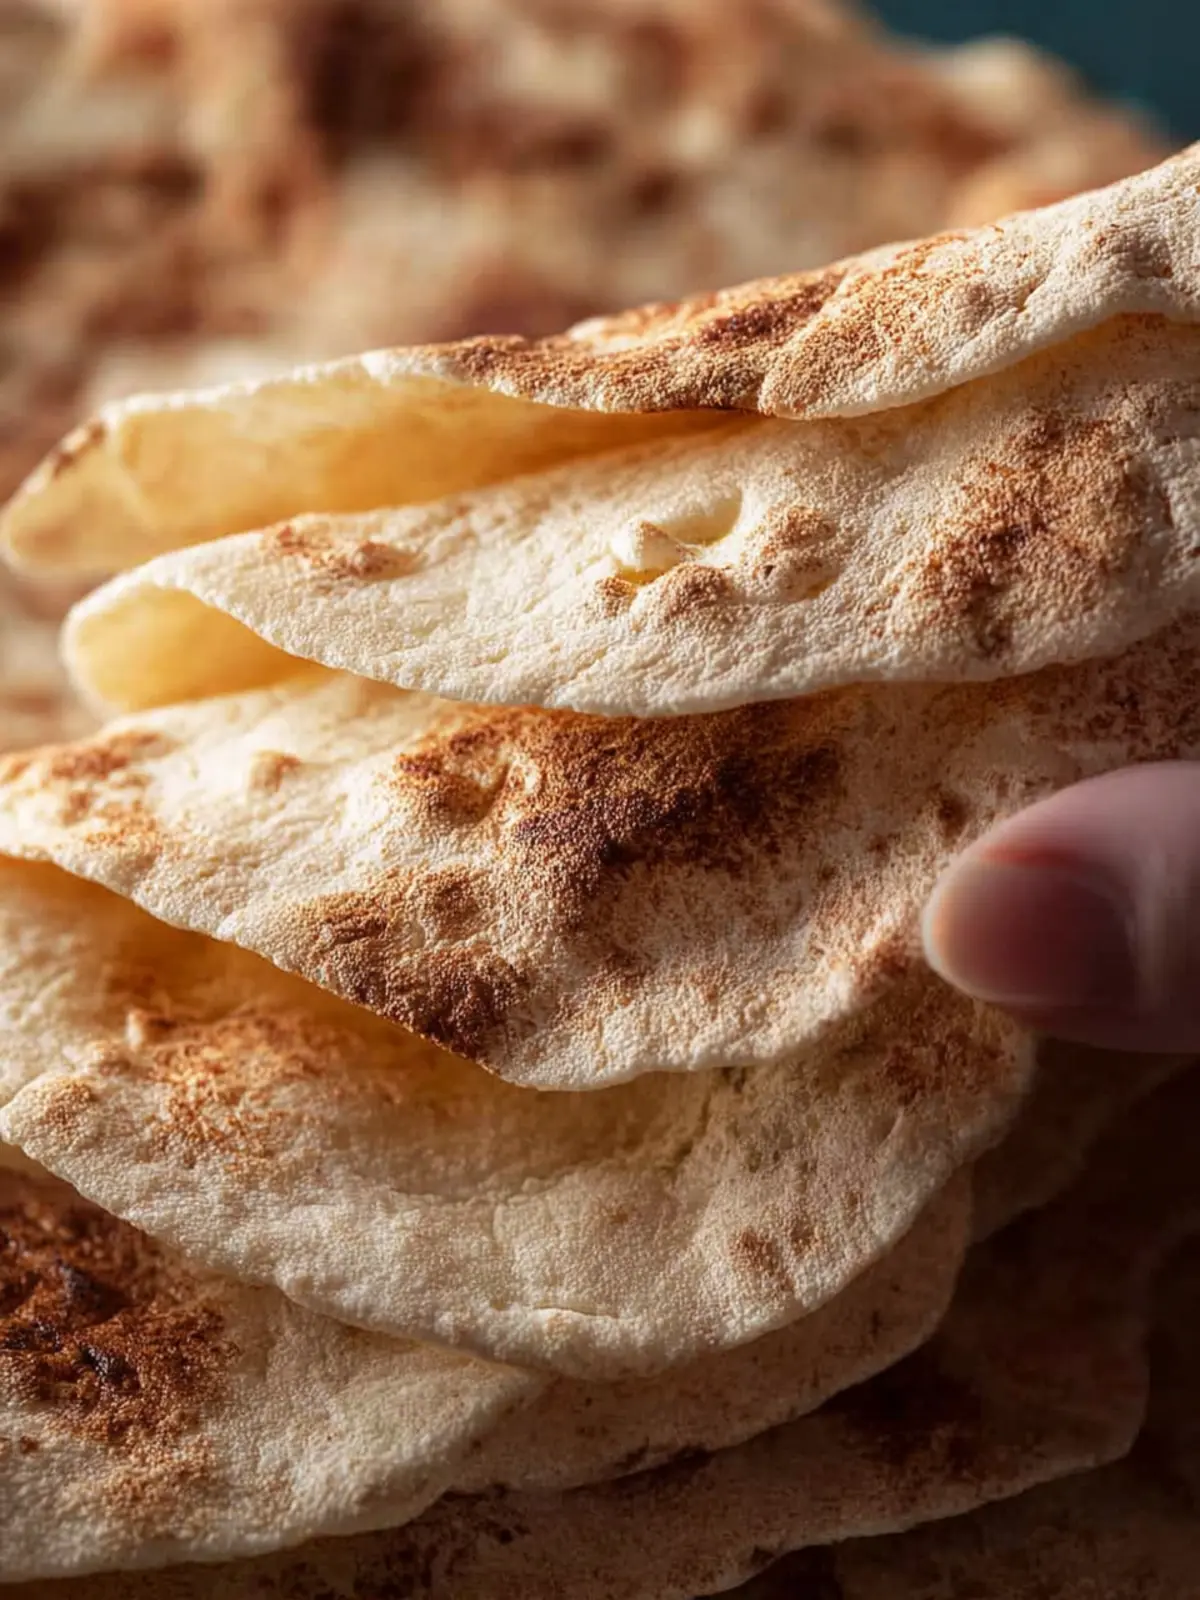
When you think of lavash bread, imagine a warm, flat, and flexible masterpiece that has been a staple in Middle Eastern cuisine for centuries. This traditional bread is more than just a side; it has a rich history that connects people over meals, embodying the essence of togetherness and comfort. Originating in countries like Armenia and Turkey, lavash is known for its unique flavor and texture, which can elevate any dish it accompanies.
Whether you use it to wrap up grilled meats, scoop up fresh dips, or simply enjoy it alongside hearty stews, lavash bread brings an unmistakable warmth to your dining experience. This bread isn’t just functional; it’s a canvas for creativity in the kitchen. The soft and pliable texture makes it perfect for preparing wraps, while its subtle nutty flavor complements a multitude of ingredients, from aromatic herbs to savory fillings.
What Makes Lavash So Special?
The beauty of lavash bread lies in its simplicity, relying on just a handful of basic ingredients, yet it holds the potential for endless variations. Here are some features that make it stand out:
-
Versatility: Lavash is ideal for wraps, pizzas, and even as a base for desserts. You can use it to create exciting meals that cater to a wide range of tastes.
-
Cultural Significance: This bread holds a special place in various cultures. In Armenia, it’s not just food; it’s part of celebratory traditions and ceremonies. Knowing the history can make every bite taste even better!
-
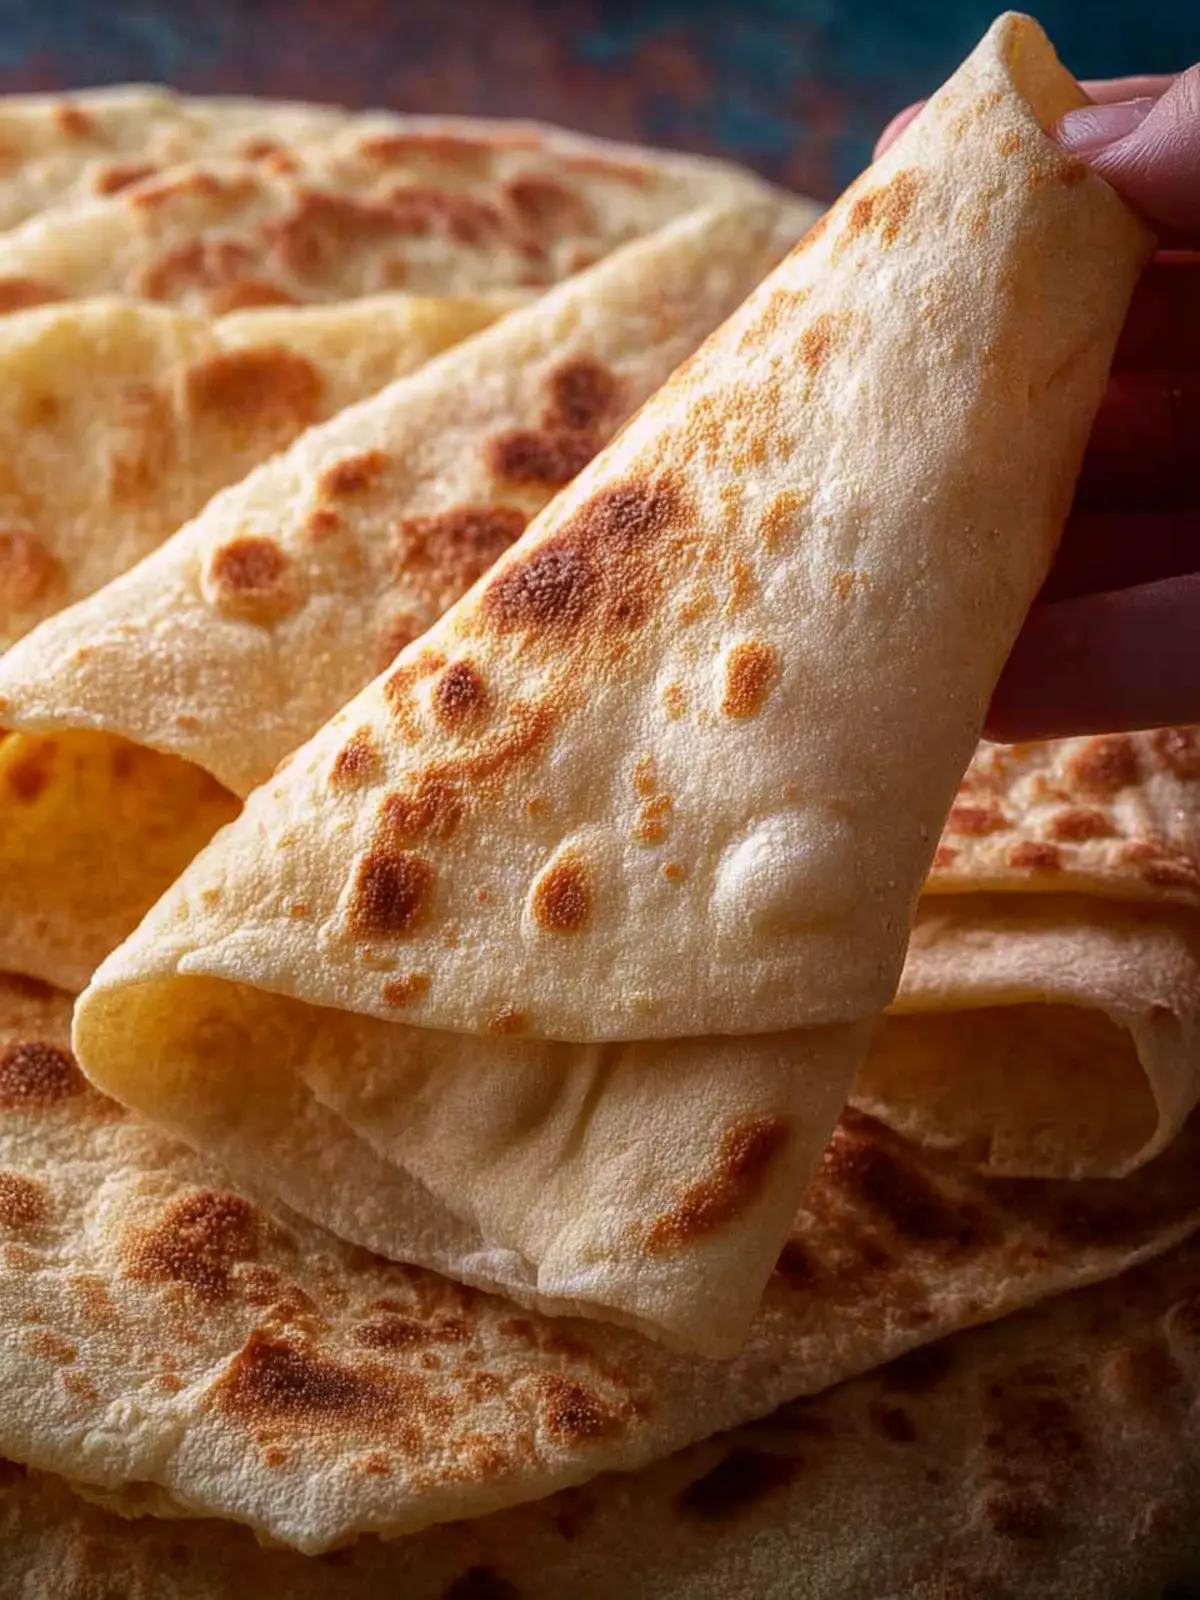
Texture and Flavor: When properly made, lavash has a delightful chewiness and earthy flavor that elevate the dining experience. Its thinness allows it to develop a lovely crispy edge when baked.
-
Freshness: There’s something indescribably satisfying about tearing off a piece of fresh lavash. The process of making it—rolling, baking, and serving warm—makes for a sensory experience that simply can’t be replicated by store-bought options.
As you embark on your lavash-baking journey, you’ll discover that making this bread from scratch allows you to connect with its rich history while creating something truly delicious for your own table. Whether you’re dining alone or hosting friends, lavash bread makes every meal feel special.
Key Ingredients for Lavash Bread
Lavash bread, a staple in many Middle Eastern and Mediterranean kitchens, holds the promise of being a versatile companion to countless meals. The beauty of making homemade lavash lies in its simple yet essential ingredients that come together to create a warm, flexible flatbread. Here’s a closer look at what you’ll need:
-
Flour: All-purpose flour is the foundation of our lavash bread. This high-protein flour gives the bread its structure and chewiness. For a more authentic flavor, you might consider using whole wheat flour, but all-purpose works beautifully as well.
-
Water: Room temperature water is crucial for hydrating the dough. Too hot or too cold can affect yeast activity, which is essential for the perfect rise.
-
Salt: A dash of salt not only enhances flavor but also strengthens the dough structure, making it pliable and perfect for wrapping around your favorite fillings.
-
Yeast: Whether you opt for active dry yeast or instant yeast, both will give your lavash bread that delightful lift. Remember to activate active dry yeast in warm water with a little sugar if using it.
-
Olive Oil: Incorporating olive oil into the dough adds richness and contributes to a beautiful texture, ensuring your lavash is soft and flexible.
These simple ingredients come together seamlessly, evoking the joy of creating bread from scratch. So roll up your sleeves and prepare for some culinary magic!
Why You’ll Love This Recipe
Lavash bread is not just a staple in Middle Eastern cuisine; it’s a delightful experience waiting to happen in your kitchen. Picture this: you roll out the dough, and as it comes together, the scent of warm flour fills the air. It’s a simple yet magical moment that transforms your kitchen into a hub of culinary creativity.
Here’s why this recipe shines:
-
Versatility: Lavash bread can be enjoyed in so many ways. Use it as a wrap, a dipper for hummus, or even as a base for your favorite pizza toppings. The possibilities are endless!
-
Simplicity: This recipe features minimal ingredients—flour, water, salt, and a dash of oil. It’s perfect for a weeknight dinner or a weekend gathering with friends.
-
Healthier Choice: Compared to store-bought bread, you have control over the ingredients. Opt for whole wheat flour or add herbs for an extra flavor kick.
-
Freshness Guaranteed: There’s nothing quite like the taste of homemade lavash bread. Once you experience its soft and chewy texture fresh out of the oven, you’ll never settle for anything less.
Making your own lavash bread is not just cooking; it’s a chance to create memories and share joy with loved ones. Enjoy the process and the delicious results!
Variations of Lavash Bread
Lavash bread can be a canvas for creativity, opening doors to exciting variations that elevate its classic charm. While the traditional lavash is beloved for its simple, soft texture, you can easily introduce unique flavors and styles that cater to different tastes and occasions.
Herb-Infused Lavash
One delightful twist is herb-infused lavash bread, where fresh herbs like rosemary, thyme, or even fresh cilantro are kneaded directly into the dough. This adds an aromatic flair that pairs beautifully with dips and spreads. It’s perfect for a Mediterranean-inspired appetizer spread or as a wrap for vibrant fresh veggies.
Spiced Lavash
Try adding spices like cumin, paprika, or za’atar to the dough for a more exotic version. The warm spices give your lavash a comforting depth that complements savory fillings, making it a fantastic option for a flavorful wrap or dipper for hummus.
Lavash with Toppings
You can transform regular lavash into a flatbread by topping it with your favorite ingredients: a drizzle of olive oil, a sprinkle of sea salt, or even cheese and tomatoes to bake until crispy. This transforms the traditional flatbread into a delightful snack or a base for mini pizzas.
Sweet Lavash
For a fun dessert twist, consider a sweet lavash! Incorporate cinnamon and sugar into the dough, or top it with nut butter and fruits. It’s a delightful way to end a meal and perfect for a weekend brunch or casual get-together.
These variations of lavash bread are not just about flavor but also about enhancing your dining experiences. Experimenting with these ideas can make every meal feel special.
Cooking Tips and Notes for Lavash Bread
Creating the perfect lavash bread in your kitchen can feel like a culinary journey. Each step is an opportunity to soak in the tradition behind this ancient bread, as you knead, roll, and bake your way to homemade perfection. Here are some essential tips and notes to guide you.
Make It Your Own
-
Flour Choice: While all-purpose flour works beautifully for lavash bread, experimenting with whole wheat can give a richer flavor and added nutrition. Just remember, different flours may require slight adjustments to water content.
-
Knead, Don’t Rush: Take your time when kneading the dough. This is where you develop gluten, which is essential for creating that desirable chewy texture. Aim for about 8-10 minutes of kneading to get the dough smooth.
Proper Cooking Techniques
-
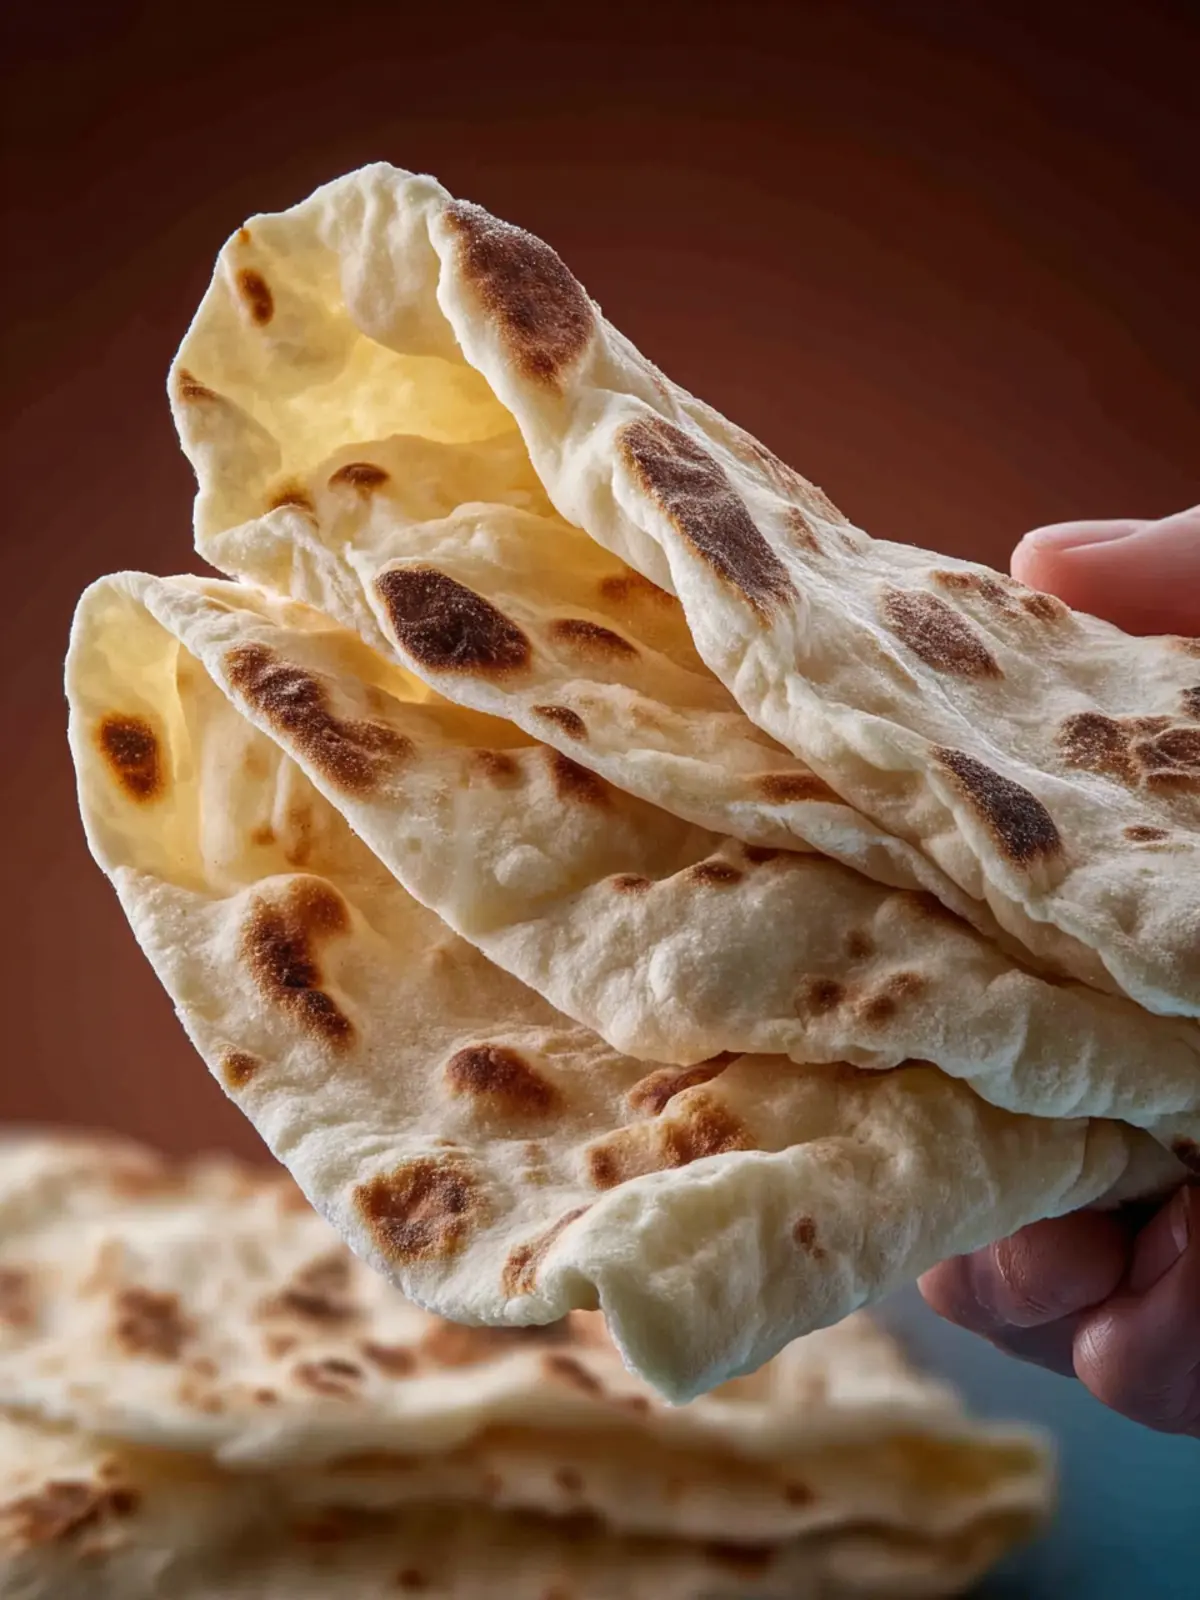
High Heat is Key: Preheat your oven to the highest setting. A hot environment will help achieve those delightful puffed pockets characteristic of well-made lavash bread.
-
Thin and Even Rolling: Roll your dough as evenly as possible to ensure consistent baking. Thicker sections will not cook through properly, while thinner spots may burn.
Enjoy and Store Wisely
-
Serving Ideas: Freshly baked lavash bread is excellent for wraps, dips, or paired with your favorite dishes. Pile up some grilled vegetables or lamb and enjoy the flavors together.
-
Keeping It Fresh: If you don’t eat it all at once, wrap your lavash bread in a clean cloth and store it in a sealed container. It maintains its softness for several days and can easily be reheated in the oven for an exquisite texture.
Baking lavash bread can be a delightful experience that enhances any meal. Try these tips and share your flavorful adventures!
Serving Suggestions for Lavash Bread
There’s something undeniably satisfying about lavash bread—its versatile nature allows it to shine in various culinary settings. This enchanting flatbread is not just a side; it’s a canvas for your culinary creativity.
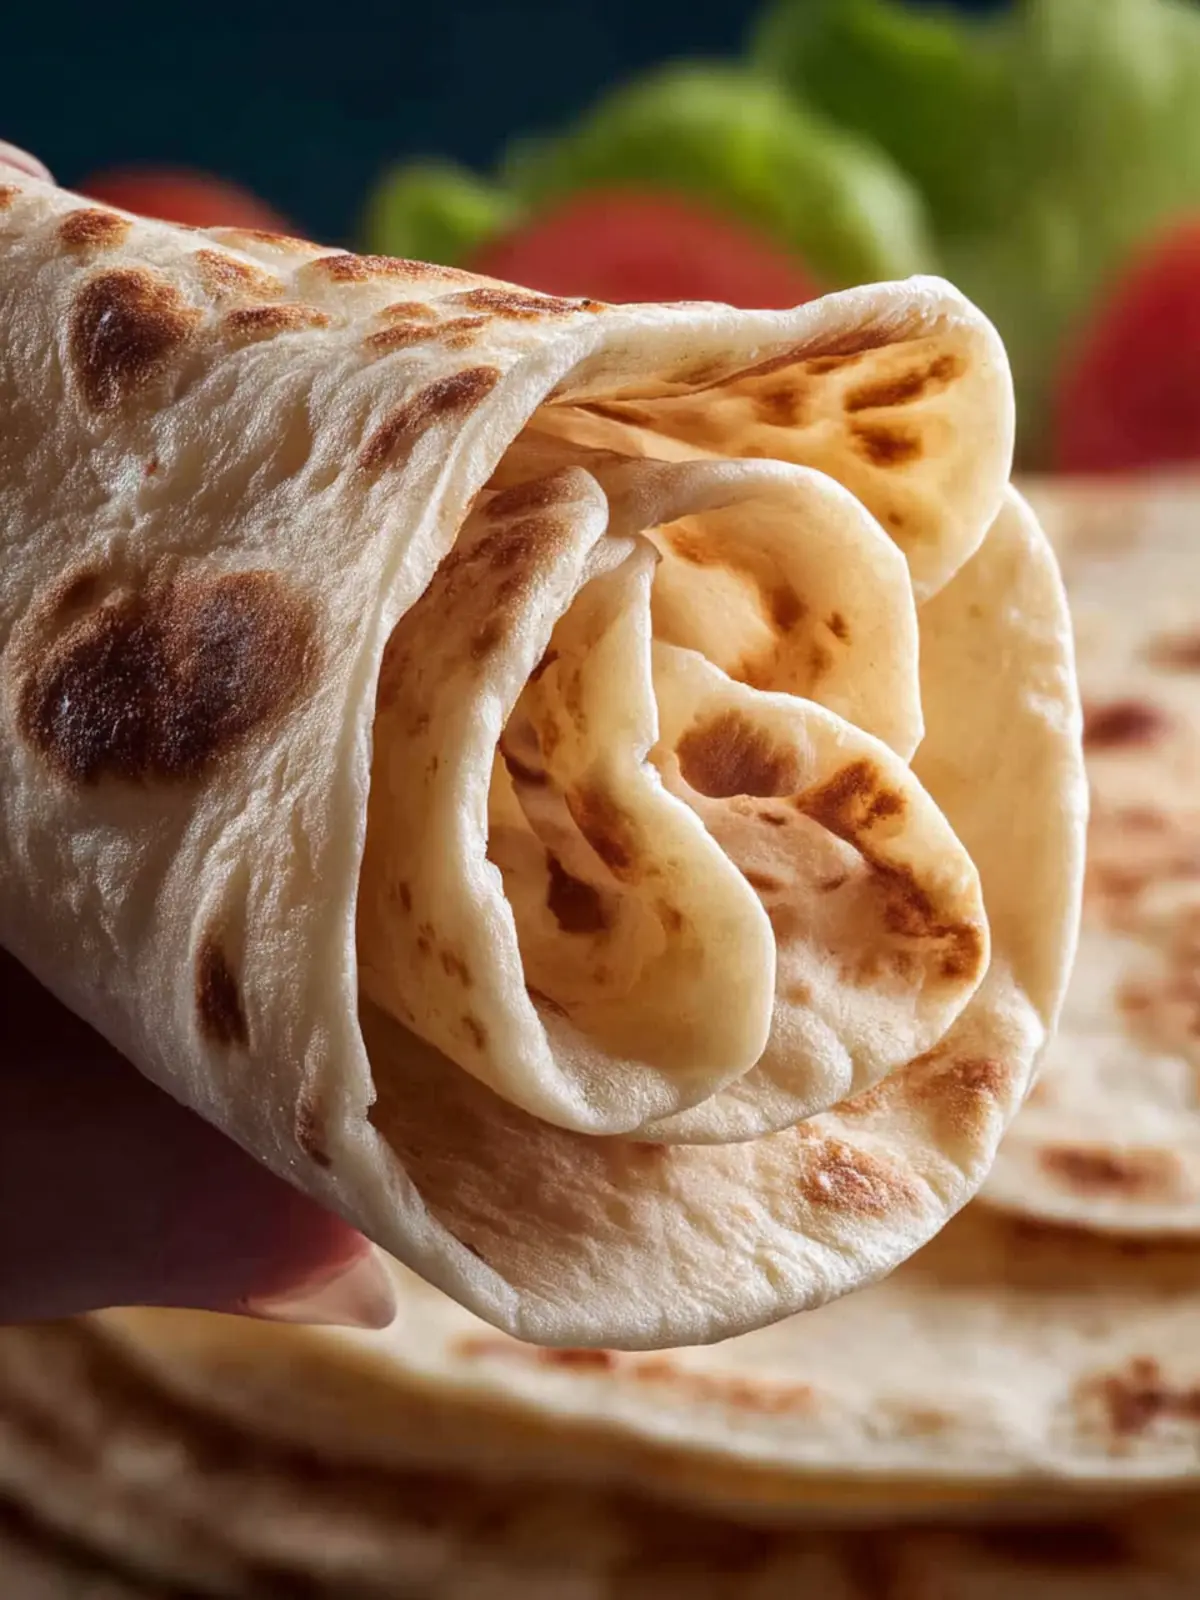
Wrap It Up
One of the most popular ways to enjoy lavash bread is by turning it into a wrap. Load it with grilled chicken, fresh veggies, and your favorite sauce for a quick, wholesome meal. The softly chewy texture complements the crunch of the fillings perfectly.
Dippable Delights
Slice your lavash bread into triangles and serve with creamy hummus or tzatziki. This pairing makes for a delightful appetizer or snack when hosting friends or family. You might find guests clamoring for seconds!
Pizza-Style Lavash
Feeling adventurous? Use lavash bread as a base for mini pizzas. Spread a thin layer of tomato sauce, sprinkle with cheese, and pile on toppings such as olives, bell peppers, or pepperoni. Bake until the cheese is bubbly, and you’ll have a unique and satisfying dish.
Each of these serving suggestions captures the essence of lavash bread, making it accessible and delightful for everyone at the table. Enjoy experimenting!
Time Breakdown for Lavash Bread
Creating your own lavash bread is an experience filled with delightful aromas and textures, and knowing how much time to allocate can help you prepare this delicious flatbread with ease.
Preparation time
The preparation for lavash bread takes about 30 minutes. This involves mixing your flour, water, and other ingredients to form a soft dough. Don’t rush; the more time you take to knead, the better the texture will be!
Cooking time
Once your dough has rested, cooking each piece of lavash will take just 2-3 minutes per side on a hot skillet. It’s amazing how quickly they cook up and can fill your kitchen with that wonderful bread smell.
Total time
In total, you’re looking at around 1 hour from start to finish, making it a perfect addition to a weeknight meal or a gathering with friends. Enjoy the process, and savor each moment as your lavash bread comes to life!
Nutritional Facts for Lavash Bread
Lavash bread is not just a versatile flatbread; it also packs a nutritious punch, making it a great choice for a balanced diet. Whether you’re wrapping up savory fillings or using it as a side, it’s beneficial to know what’s in it.
Calories
A typical serving of lavash bread contains around 120 calories, making it a relatively light option compared to traditional bread. This allows you to enjoy your meal without worrying too much about calorie overload.
Protein
In each serving, you’ll find approximately 4 grams of protein. While lavash bread isn’t a protein powerhouse, it does contribute to your daily intake, especially when paired with protein-rich fillings like hummus or grilled chicken.
Sodium
On average, one piece of lavash bread contains about 200 mg of sodium. Being mindful of sodium intake is essential, particularly if you’re watching your salt consumption for health reasons. Pairing it with fresh ingredients can help keep your meal balanced and flavorful.
FAQs about Lavash Bread
Lavash bread, a delightful flatbread with roots in the Armenian culinary tradition, is not only versatile but also a great companion for myriad meals. Whether you’re crafting a quick wrap or serving it alongside your favorite dip, having some handy at home can transform your meals. Here, we’ll address some frequently asked questions to ensure you get the most out of your lavash bread experience.
How do you store lavash bread?
To keep your lavash bread fresh, store it in an airtight container or zip-top bag at room temperature for up to a week. If you notice it starting to dry out, a quick trip to the microwave (just a few seconds) can bring back its delightful softness. If your kitchen tends to be a bit warm, consider wrapping it in a cloth before placing it inside the bag to keep it from becoming too brittle.
Can I freeze lavash bread?
Absolutely! Freezing is a fantastic way to extend the shelf life of your lavash bread. Simply stack your pieces with parchment paper between them, place them in a freezer-safe bag, and store them for up to three months. When you’re ready to enjoy, let them thaw at room temperature or warm them briefly in the oven.
What are some ways to use lavash bread?
The options are endless! Here are a few creative ideas to inspire you:
- Wraps and Sandwiches: Stuff them with your favorite meats, veggies, and spreads for a quick meal.
- Dip Base: Cut into strips and bake for crunchy dippers to serve with hummus or guacamole.
- Pizza Alternative: Use as a thin crust for a quick personal pizza topped with your favorite ingredients.
- Dessert Creations: Sweeten it up by adding cinnamon and sugar for a delightful dessert treat.
With these tips and ideas, you’ll be well on your way to enjoying your lavash bread in countless delicious forms!
Conclusion on Lavash Bread
In crafting the perfect lavash bread, you enter a world of culinary delight that transcends mere sustenance. It’s an art form, bringing families together at the table, allowing for delicious wraps, dips, and much more. With just a few simple ingredients, you can create a delightful flatbread that carries flavors beautifully. Remember, the secret lies in the resting period—patience yields the most satisfying results. So, the next time you whip up this doughy wonder, savor each step. You’ll find that this simple recipe transforms not only your meals but also your kitchen into a haven of warmth and flavor. Enjoy your lavash bread!
Print
Flatbread
- Total Time: 1 hour
- Yield: 10 flatbreads 1x
- Diet: Vegan
Description
A simple and delicious recipe for homemade flatbread.
Ingredients
Scale
- 3/4 cup warm water
- 3/4 cup warm milk
- 1 tbsp vegetable oil (or other neutral flavored oils)
- 1/2 tbsp granulated sugar
- 1 tsp salt
- 1 tbsp instant yeast
- 3 1/2 cup all purpose flour (plus more for dusting the surface)
Instructions
- In a large bowl mix water, milk, oil, sugar, salt and instant yeast.
- Slowly add in the flour and mix using your hands or stand mixer until the dough comes together. This would take between 8 to 10 minutes. The dough will be a bit sticky.
- Rub a bit of oil all over the dough and place it in a large bowl. Cover and let it rise for 40 minutes. (I usually let mine rise in an “off” oven)
- After 40 minutes, gently deflate the dough and divide it into 10 pieces. Shape each piece into a ball. Cover them all with a kitchen towel so they don’t dry as you cook them. Let the dough balls sit for 15 minutes as you heat the pan.
- Heat a nonstick pan over medium heat. Flour your surface and your rolling dough very well. Place a dough ball on the surface and roll it out to be very thin.
- Place it on the hot pan and cook for 45 seconds to one minute. There will be bubbles. Flip and cook on the other side for about 30-45 seconds. Place the bread on a plate and cover with a kitchen towel.
- Repeat with the remaining dough.
Notes
- This recipe makes about 10 flatbreads.
- Flatbreads can be stored in an airtight container for a few days.
- They can also be frozen for longer storage.
- Prep Time: 50 minutes
- Cook Time: 10 minutes
- Category: Bread
- Method: Stovetop
- Cuisine: Mediterranean
Nutrition
- Serving Size: 1 flatbread
- Calories: 150
- Sugar: 0.5g
- Sodium: 100mg
- Fat: 2g
- Saturated Fat: 0g
- Unsaturated Fat: 1g
- Trans Fat: 0g
- Carbohydrates: 28g
- Fiber: 1g
- Protein: 4g
- Cholesterol: 0mg