Follow Me On Social Media!
Old Fashioned Chocolate Pie: Indulge in Sweet Nostalgia
Introduction to Old Fashioned Chocolate Pie
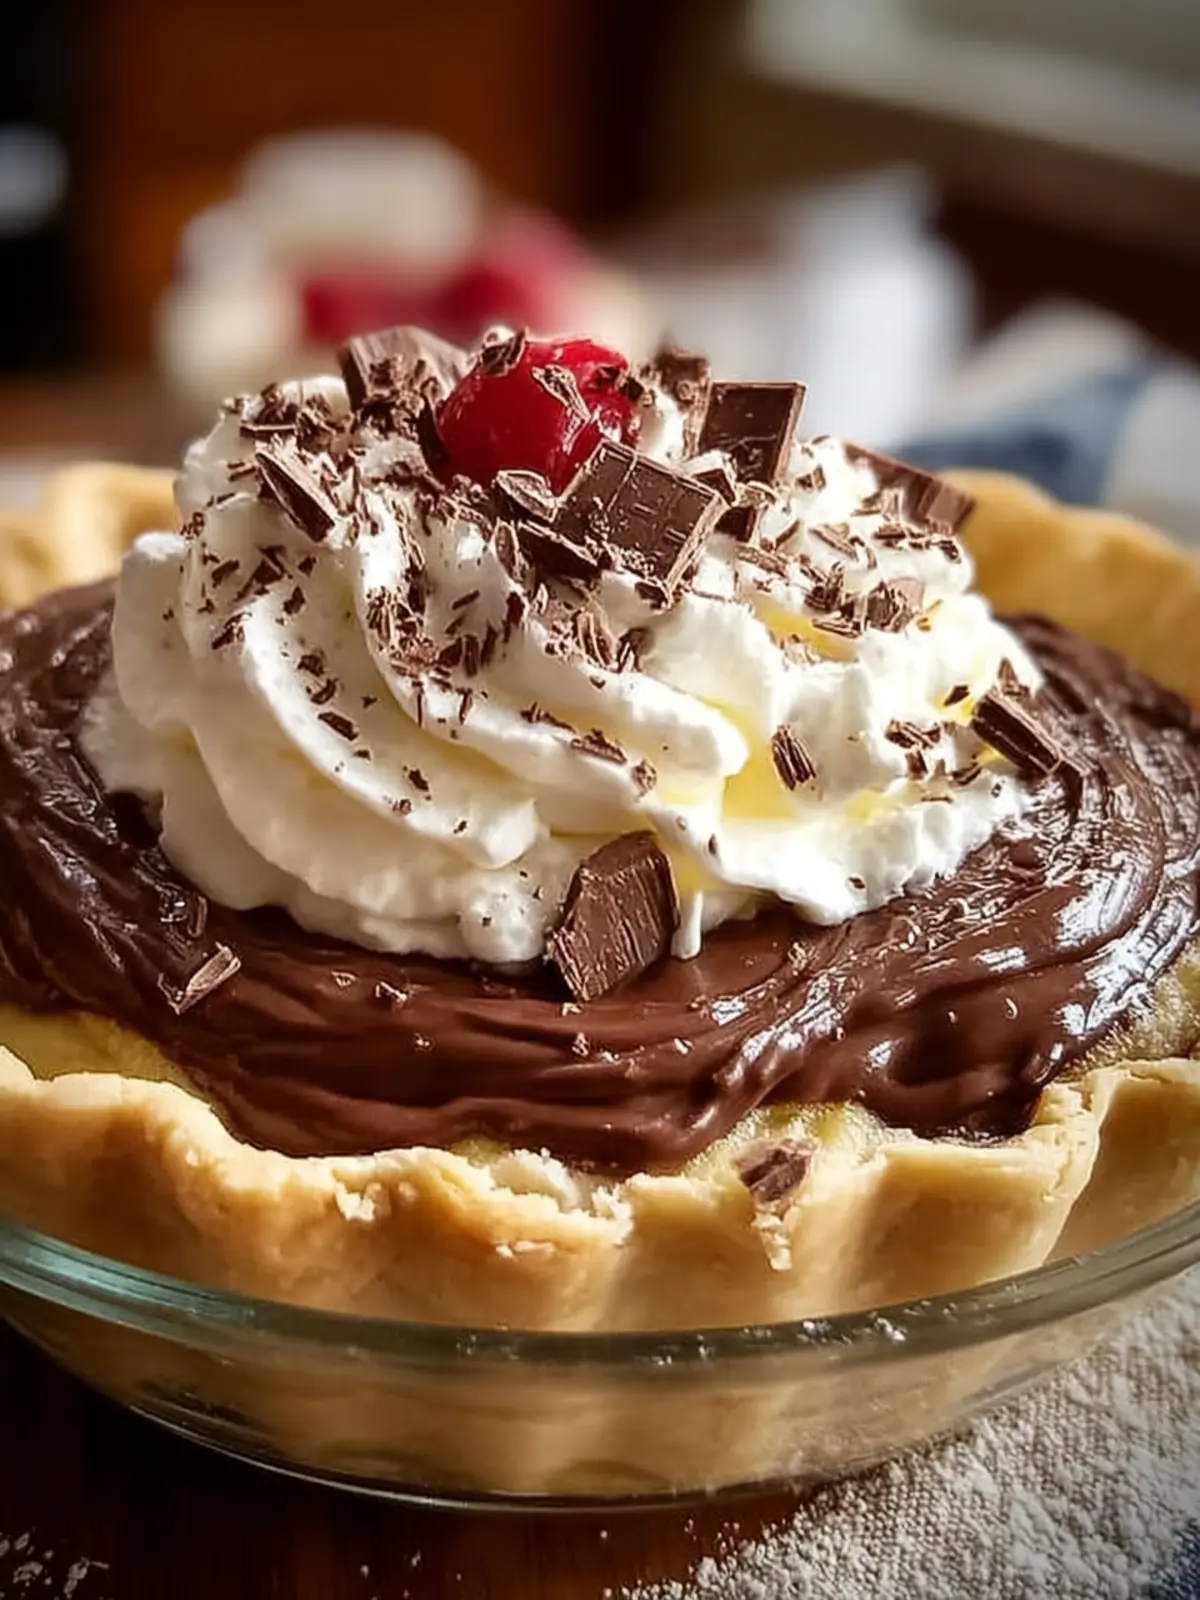
The Old Fashioned Chocolate Pie is not just a dessert; it’s a heartwarming slice of nostalgia that transports you back to simpler times, when family gatherings were filled with laughter and the sweet indulgence of homemade treats. Imagine walking into a cozy kitchen, the rich aroma of chocolate wafting through the air, as your grandmother pulls a beautifully baked pie from the oven. This beloved classic, with its silky chocolate filling and buttery crust, evokes cherished memories and creates new ones with every bite.
With its origins rooted deeply in Southern cooking, the old fashioned chocolate pie is cherished not only for its decadent flavor but also for the love and care that goes into making it. Whether it’s enjoyed during holidays, birthdays, or an everyday family dinner, this pie is bound to be the star of the show. The simplicity of the ingredients and the straightforward preparation make it an ideal recipe for both novice bakers and seasoned kitchen veterans.
What is the charm of Old Fashioned Chocolate Pie?
The charm of the old fashioned chocolate pie lies in its rich history and the delightful blend of textures and flavors. This pie showcases:
-
Decadent Chocolate: Rich, dark chocolate creates a luscious filling that is both creamy and indulgent. The taste is reminiscent of childhood favorites but elevated to satisfy adult palates.
-
Buttery Crust: The flaky, buttery crust contrasts beautifully with the smooth filling, providing a satisfying crunch that complements the pie’s richness.
-
Versatile Delight: From serving it warm with a scoop of vanilla ice cream to enjoying it chilled with a dollop of whipped cream, this pie can be adapted to suit any occasion or mood.
What makes this pie even more enticing is its ability to bring people together. Picture family members gathering around the table, vibrant conversations floating through the air, all while enjoying a slice of this timeless treat. Making your own old fashioned chocolate pie not only fills your kitchen with delightful aromas but also fills hearts with warmth and joy. So, are you ready to create your own piece of nostalgia? Let’s dive into the details of how to make this enchanting dessert!
Key Ingredients for Old Fashioned Chocolate Pie
Chocolate: The star of our old fashioned chocolate pie is undeniably rich semi-sweet chocolate. It provides that deep, decadent flavor that makes each slice so irresistible. I recommend using a high-quality chocolate, as it significantly enhances the overall taste of the pie.
Sugar: For the filling, granulated sugar balances the chocolate’s richness, bringing a touch of sweetness without overpowering its flavor. It plays a critical role in achieving that smooth and luscious texture we crave in a traditional pie.
Eggs: Eggs are crucial for giving structure to the filling. They help to create that perfect creamy consistency. Be sure to use large eggs, as they provide just the right amount of moisture and binding for our old fashioned chocolate pie.
Cornstarch: This ingredient acts as a thickener, ensuring our pie sets beautifully. It’s a vital component that helps maintain that luxuriously smooth consistency.
Vanilla Extract: A splash of pure vanilla extract elevates the flavor profile, rounding out the richness of the chocolate and adding a delightful aromatic touch.
Milk: Whole milk is key for achieving that creamy filling we all love. It works to meld all the ingredients together, creating a perfectly indulgent experience in every bite.
Why You’ll Love This Recipe
Creating an old fashioned chocolate pie isn’t just about dessert; it’s about crafting memories that linger long after the last bite. Picture this: It’s a Sunday afternoon, and the smell of rich chocolate wafts through the kitchen as you prepare this timeless treasure. That tantalizing aroma not only promises deliciousness but also invites everyone into a cozy gathering, where stories are shared and laughter fills the air.
A Taste of Nostalgia
With its silky smooth filling and flaky crust, this pie is a nostalgic nod to classic family gatherings. Each bite takes you back to warm summer nights on the porch, when time seemed to slow down, and every moment was savored. What could be more comforting than knowing that a slice of this delectable pie can evoke such fond memories?
Easy to Make and Even Easier to Enjoy
You’ll appreciate that this old fashioned chocolate pie is straightforward to prepare, making it an ideal choice for busy weeknights or special occasions. With just a few simple ingredients, you can create a dessert that’s sure to impress. Plus, whether you’re a seasoned baker or a novice in the kitchen, you’ll find that the process is rewarding and enjoyable.
Embrace the joy and comfort that an old fashioned chocolate pie brings into your home. It’s not just dessert; it’s a delightful experience!

Tips for Making Perfect Old Fashioned Chocolate Pie
When I’m crafting an old fashioned chocolate pie, I always find that a few key tips elevate the experience from good to spectacular. Just like any classic dessert, the little things matter, so let’s dive into some of my favorite techniques to ensure your pie is a showstopper.
Choose Quality Ingredients
- Chocolate: Use high-quality bittersweet or semisweet chocolate. It makes a world of difference in flavor over generic brands. I often experiment with artisanal chocolate bars for a unique twist.
- Milk: Whole milk is best for a rich filling. If you want to go a step further, try substituting half of the milk with cream for extra decadence.
- Eggs: Always use fresh eggs for the best texture. Room temperature eggs blend easily into the mixture, giving you that smooth filling.
Follow the Recipe Closely
Baking requires precision, so stick to the recipe you’re working with. Measure your ingredients accurately. For instance, when mixing the cornstarch, ensure it’s fully dissolved to avoid lumps in your filling.
Allow Proper Cooling
After baking, let your old fashioned chocolate pie cool completely at room temperature before refrigerating. This helps the filling set nicely, ensuring a clean slice when you serve it.
Experiment with Toppings
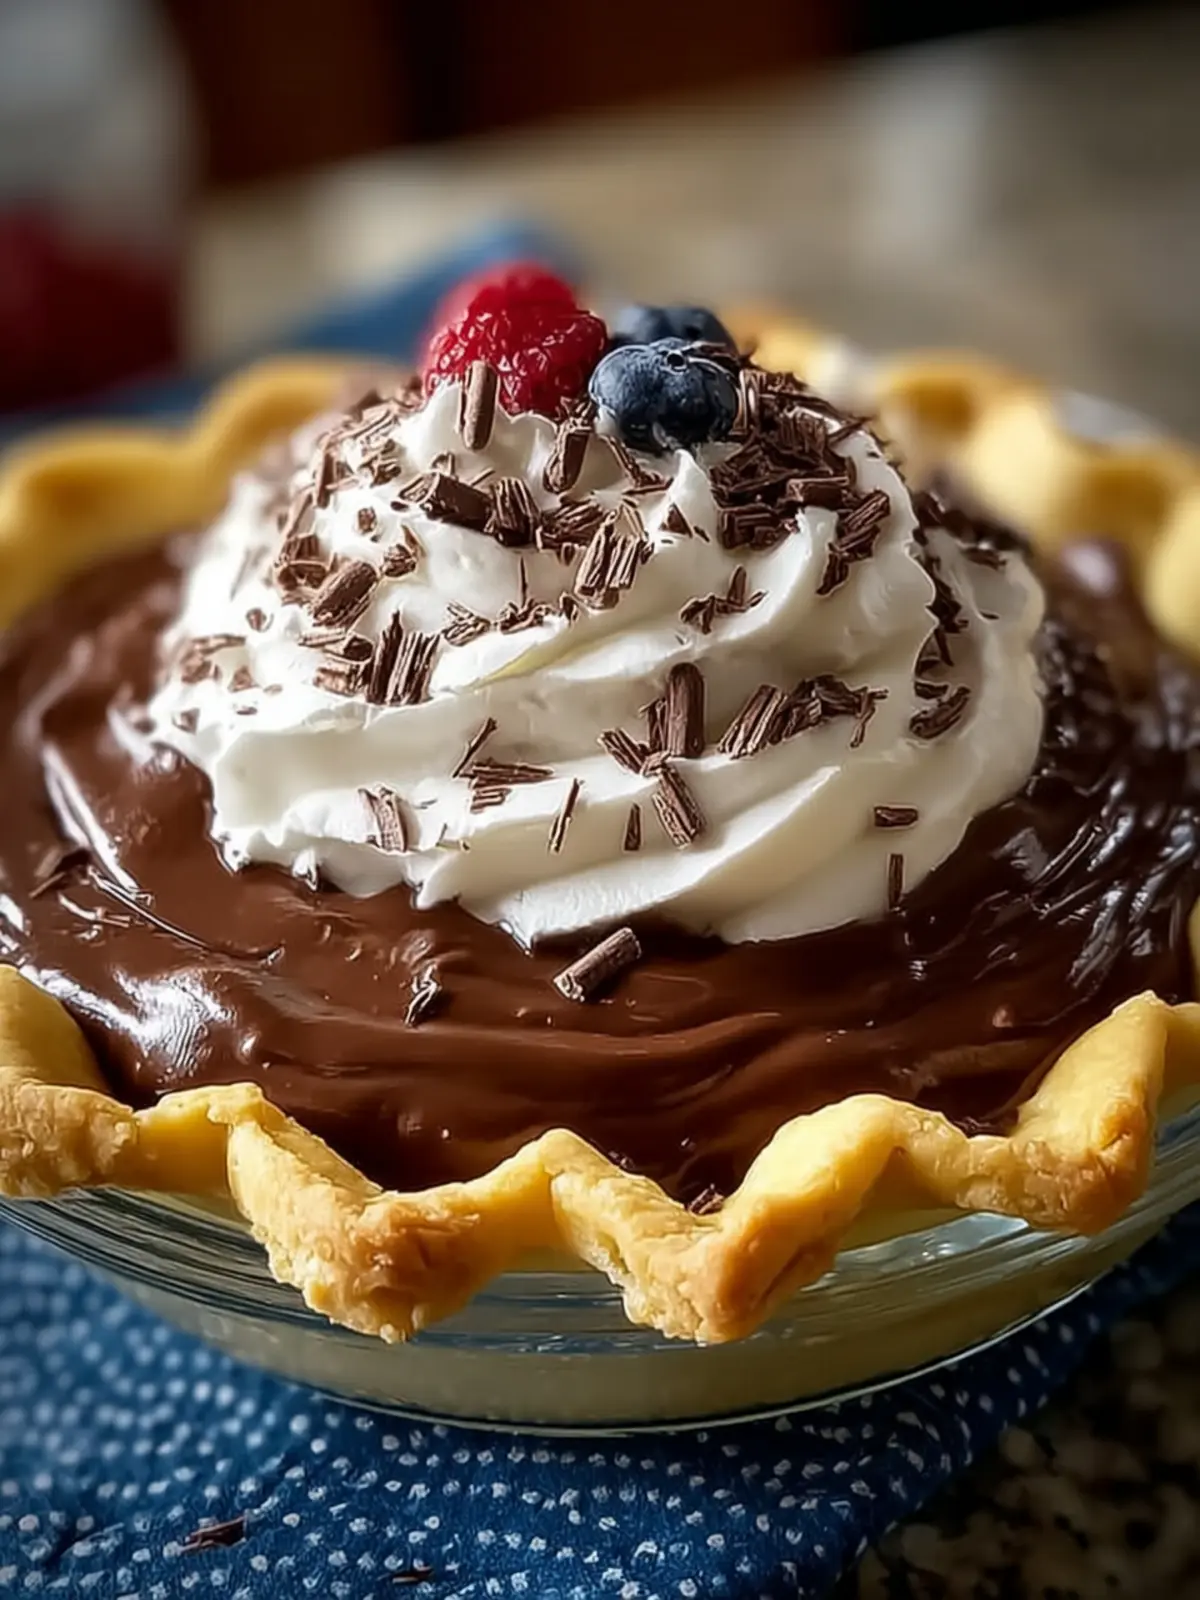
Feel free to personalize your pie with toppings like whipped cream, chocolate shavings, or fresh berries. These not only enhance the presentation but also add delightful flavor contrasts.
By keeping these tips in mind, your old fashioned chocolate pie will surely be a crowd favorite, and you might just find yourself sharing the recipe with friends.
Time Details for Old Fashioned Chocolate Pie
Creating an old fashioned chocolate pie is a rewarding endeavor that brings a taste of nostalgia directly onto your plate. Understanding the timing involved can help you serve this delightful dessert at its best.
Preparation Time
Set aside about 20 minutes for preparation. This includes gathering your ingredients and mixing them together to create the rich chocolate filling that will have everyone coming back for seconds.
Cooking Time
The actual cooking process takes around 25 to 30 minutes. You’ll need to bake the pie until the filling is thickened and the crust is golden brown, creating that perfect balance of flavors.
Chilling Time
Finally, allow the pie to chill for at least 2 hours before serving. This is crucial, as it helps the filling to set properly. The wait will be well worth it when you slice into that creamy, decadent chocolate pie!
Nutritional Information for Old Fashioned Chocolate Pie
When savoring a slice of old fashioned chocolate pie, you’re not just enjoying a dessert; you’re indulging in a nostalgic experience. This pie, rich and creamy, serves as a delightful treat that recalls sweet memories from childhood gatherings. Let’s take a closer look at what’s packed in this delicious slice.
Calories
A generous slice of old fashioned chocolate pie contains approximately 300 calories. This calorie count stems from its decadent filling and buttery crust, perfect for a sweet indulgence.
Protein
You can expect about 4 grams of protein per serving. While it won’t replace your main meals, the eggs and dairy ingredients contribute a small boost to your daily intake.
Sugar
With about 25 grams of sugar per slice, this pie is undeniably sweet. It’s a delightful treat, but it’s best enjoyed in moderation to balance your overall diet. Whether you’re sharing with friends or enjoying a slice solo, the rich flavor of this pie makes every bite worth it!
FAQs About Old Fashioned Chocolate Pie
Creating an old fashioned chocolate pie is a delightful experience, but you might have some questions before diving in. Here are some frequently asked questions to help you get the most out of your baking adventure.
How can I prevent my chocolate pie from getting lumpy?
Lumps can be the bane of a perfectly smooth old fashioned chocolate pie. To ensure a velvety texture, make sure to sift your dry ingredients before combining them with the wet ones. Additionally, when cooking the filling on the stove, stir consistently and use medium heat to prevent scorching and clumping. If, by chance, you do find your mixture has lumps, passing it through a fine mesh strainer before pouring it into the crust can quickly solve the problem.
Can I make this pie in advance?
Absolutely! Preparing your old fashioned chocolate pie ahead of time can save you a lot of hassle on the day of serving. You can bake the pie, let it cool, and then cover it tightly with plastic wrap. Store it in the refrigerator, where it will hold up well for up to three days. Just be sure to add any whipped cream or toppings right before you serve it to keep them fresh and fluffy.
What variations can I try with this chocolate pie recipe?
While the classic old fashioned chocolate pie is a joy on its own, don’t hesitate to play with flavors! Consider adding a splash of espresso for a mocha twist or substituting some of the chocolate with peanut butter for a delicious combination. You could even sprinkle some sea salt on top for a delightful contrast that enhances the chocolate flavor. Trust your palate, and let your creativity shine!
Conclusion on Old Fashioned Chocolate Pie
Creating an old fashioned chocolate pie not only brings a sense of nostalgia but also fills the kitchen with a delightful aroma that invites cherished memories. Whether it’s a family celebration or a casual get-together, this pie is sure to impress and satisfy. Its rich, smooth filling pairs wonderfully with a flaky crust, making every slice a pure delight. I encourage you to take a moment to savor each bite and share the experience with loved ones. After all, it’s not just about enjoying a delicious dessert; it’s about creating connections and sweet moments that last a lifetime.
Print
Old Fashioned Chocolate Pie
- Total Time: 4 hours 45 minutes
- Yield: 8 servings 1x
- Diet: vegetarian
Description
Making an Old Fashioned Chocolate Pie is as comforting as the pie itself. With just a saucepan, a whisk, and a bit of patience, you’ll be amazed at how easily this rich, decadent dessert comes together.
Ingredients
Scale
- 1 pre-baked 9-inch pie crust (store-bought or homemade)
- 1 ½ cups granulated sugar
- ¼ cup unsweetened cocoa powder
- ¼ cup all-purpose flour
- ¼ teaspoon salt
- 3 cups whole milk
- 4 egg yolks, beaten
- 2 tablespoons unsalted butter
- 1 ½ teaspoons vanilla extract
Instructions
- Prepare the Pie Crust: If you’re using a homemade crust, blind bake it ahead of time and allow it to cool completely. A golden, flaky crust is the perfect foundation for the creamy chocolate filling. You can also use a quality store-bought crust to save time.
- Combine Dry Ingredients: In a medium saucepan, whisk together the sugar, cocoa powder, flour, and salt until fully combined. This step ensures there are no lumps in the filling and helps the dry ingredients dissolve evenly into the milk later.
- Add Milk and Cook: Gradually whisk in the milk over medium heat. Stir constantly to prevent scorching. After a few minutes, the mixture will begin to thicken. It should resemble a loose pudding. Don’t rush this part—low and slow is key for that perfect silky texture.
- Temper the Egg Yolks: In a small bowl, beat the egg yolks. Slowly drizzle about ½ cup of the hot chocolate mixture into the yolks while whisking vigorously. This step is essential—it warms the eggs gently without scrambling them.
- Combine and Thicken Again: Pour the tempered yolks back into the saucepan with the rest of the chocolate mixture. Continue cooking and stirring for another 2–3 minutes until the filling thickens into a pudding-like consistency.
- Finish with Butter and Vanilla: Remove the saucepan from heat and stir in the butter and vanilla. The butter gives the filling a rich finish, and the vanilla enhances the chocolate’s flavor.
- Pour and Chill: Pour the hot chocolate filling into your prepared pie crust. Smooth the top with a spatula, then let the pie cool at room temperature before transferring it to the refrigerator. Chill for at least 4 hours, or until the filling is fully set.
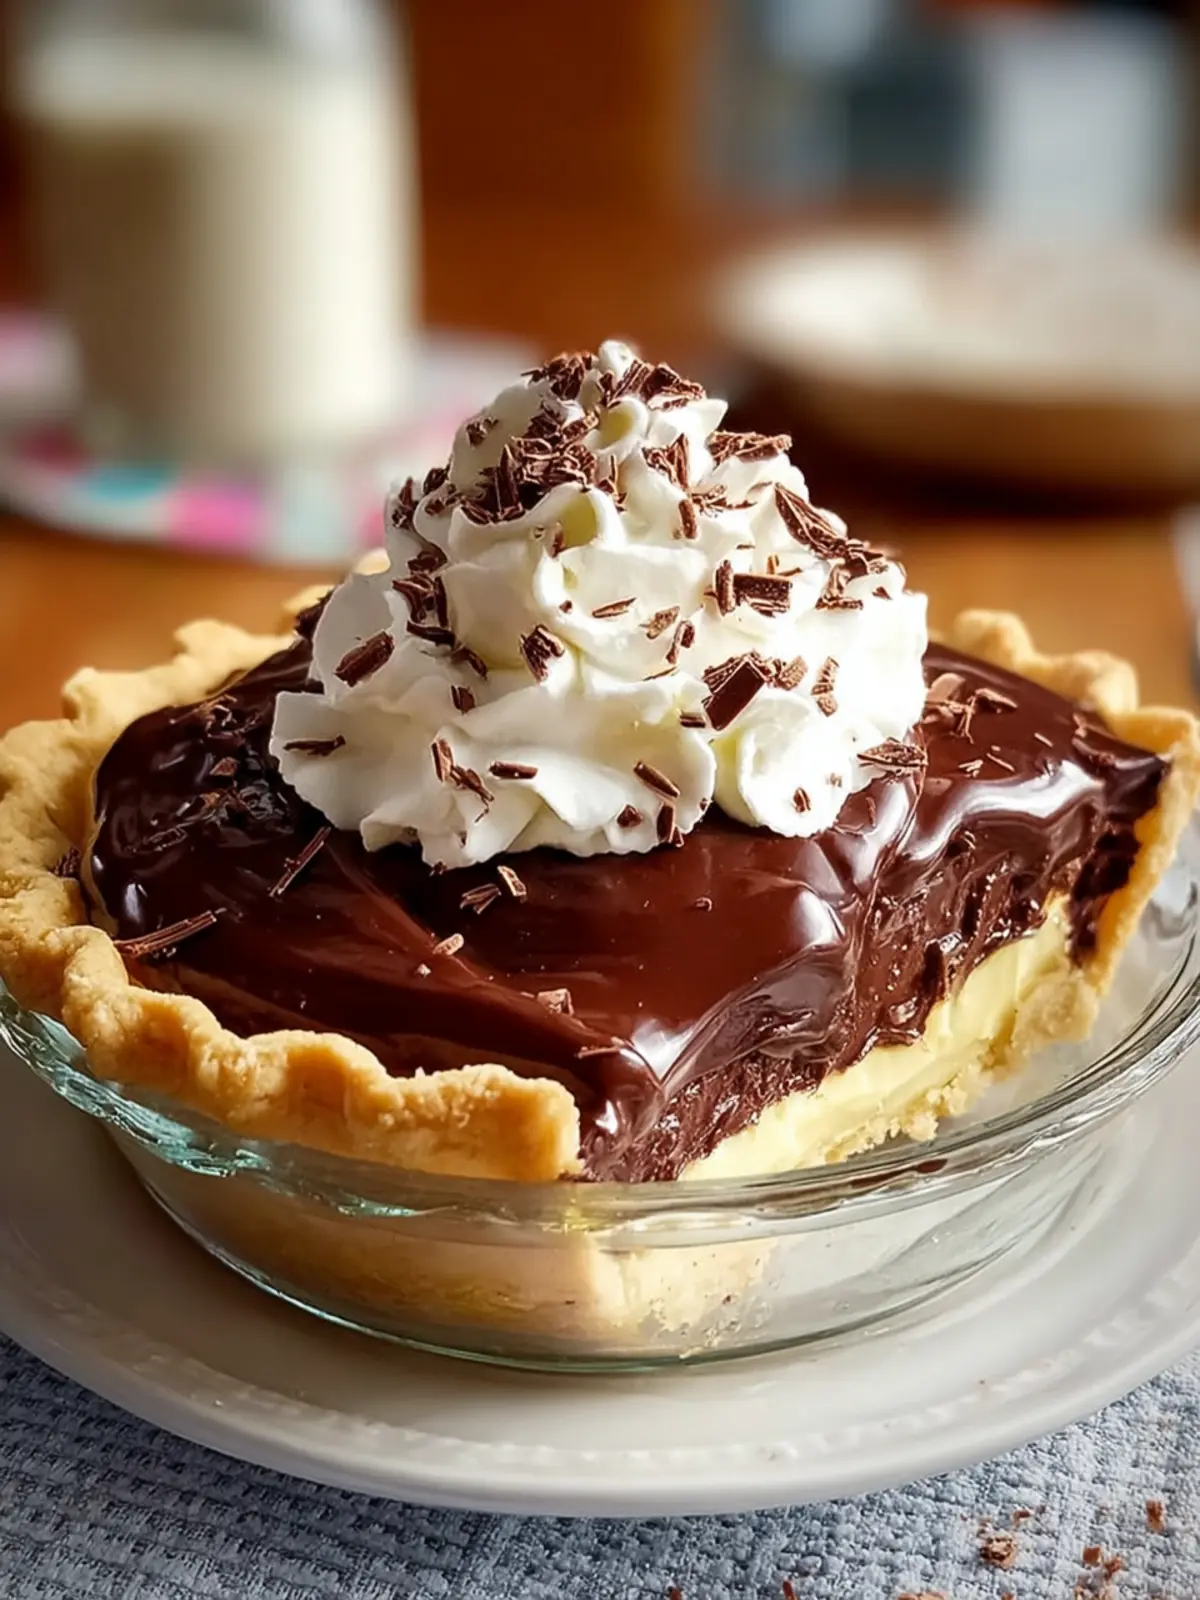
- Serve: Serve slices cold, with a dollop of whipped cream or a sprinkle of shaved chocolate for a little extra flair.
Notes
- Make sure to cool the pie completely before chilling to ensure the filling sets properly.
- For added richness, consider using dark chocolate instead of cocoa powder.
- Prep Time: 30 minutes
- Cook Time: 15 minutes
- Category: Desserts
- Method: baking
- Cuisine: American
Nutrition
- Serving Size: 1 slice
- Calories: 350
- Sugar: 28g
- Sodium: 150mg
- Fat: 15g
- Saturated Fat: 9g
- Unsaturated Fat: 4g
- Trans Fat: 0g
- Carbohydrates: 50g
- Fiber: 2g
- Protein: 6g
- Cholesterol: 120mg